
Today, I am going to tell you something a little different. What I did not learn from anyone in my family or from any chef or experienced friend, I learned from a long-year-old diary of my Ma.
And what’s that? That is the reason behind sourdough starter not rising and how to get rid of it. But it’s also true that I didn’t get the best results by using the information that I collected from that diary completely.
So, after two or three attempts, I realized that I still had some problems. But after solving them by customizing the guidelines a little bit, I got the result I wanted.
And today, in this article, I will tell you the exact mistakes I made, how I got rid of them, and how I got out of this sourdough starter not rising issue. So, let’s start without any further ado.
Why is Your Sourdough Starter Not Rising?
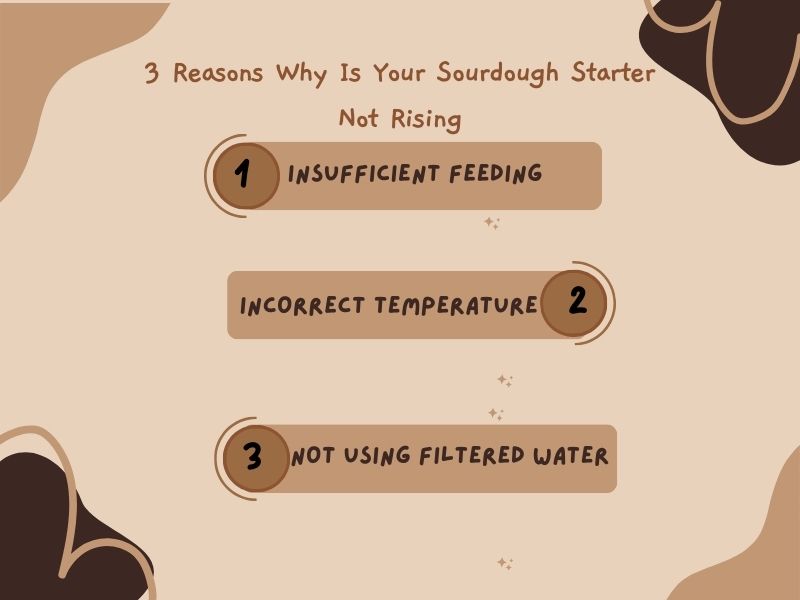
Fig 1 – 3 Reasons Why Is Your Sourdough Starter Not Rising
Your sourdough starter not rising issue can happen due to several reasons, such as insufficient feeding or incorrect feeding ratios, incorrect temperature, or using the wrong ingredients.
Don’t worry. I got you! Now that you are here, you can easily fix this problem with some of the easy steps that I’m going to tell you in this article.
But first, let’s learn what is a sourdough starter.
What is a Sourdough Starter?
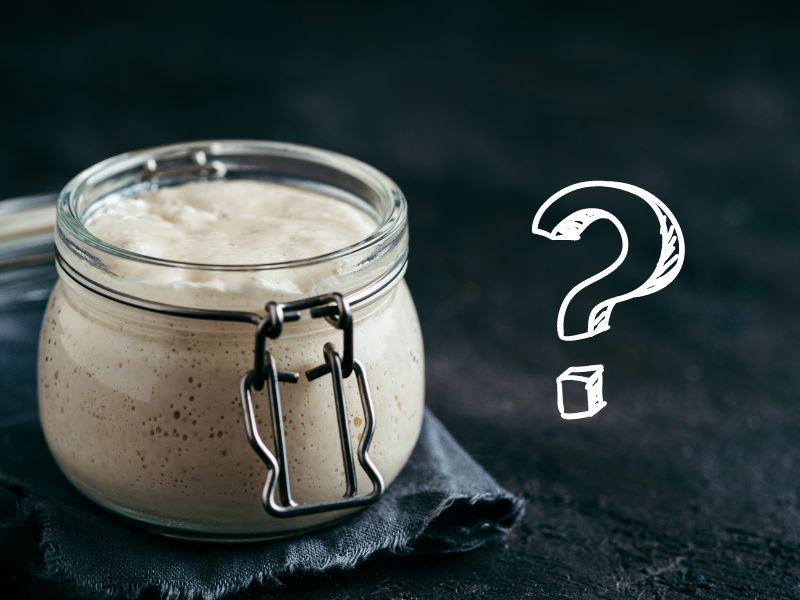
Fig 2 – Why sourdough starter not rising
So, a sourdough starter means a blend of flour and water that contains beneficial bacteria and wild yeast by using flour as their fuel to produce carbon dioxide and lactic acid. That you later sit for a while to raise your dough like a bubble.
And those two ingredients that work together are. I mean, the good bacteria and wild yeasts that give your sourdough a soul and make your bread rise with a unique taste. Bakers call it a living culture.
Taking about sourdough, here is an article you may find similar interest: Sourdough Bread Troubleshooting| Mastering The Art Of Perfect Loaves
Common Reasons And Solutions for Sourdough Starter Not Rising
Is your sourdough starter not rising, dear? Don’t get frustrated about that. It happened. Some common reasons work perfectly behind this issue.
And where there are problems, there are solutions. So what are they? Learn about them just by taking a closer look at the discussion below.
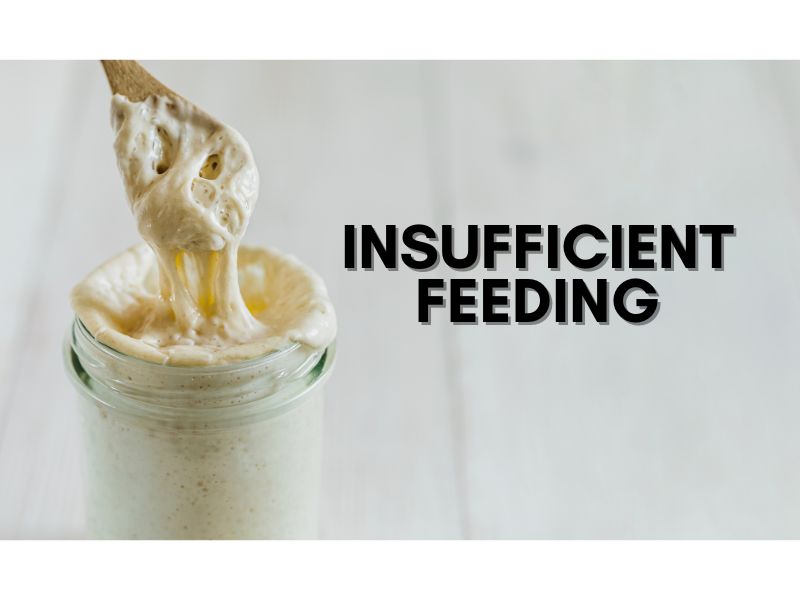
Fig 3 – Insufficient Feeding
Reason 1: Insufficient Feeding
The first thing that can trouble you the most is Insufficient feeding. Many people think that temperature is the culprit. Yes, it is saying it from my years of experience. But insufficient feeding can ruin all the process easily.
Why? Because if you incorrectly add a mixture of flour and water to your starter at the wrong temperature, it won’t provide the necessary nutrients for the wild yeast and the bacteria that are living in the starter.
So, let’s delve into a step-by-step guide to learn more about how you can prevent insufficient feeding and have your desired sourdough journey.
Solutions
1. A Step-By-Step Guide to Proper Feeding:
- Before you start your feeding, just take out half of your starter. It will help to remove the waste and create space for new growth.
- Choose whole wheat flour with closed eyes as it’s rich in nutrients and water in equal weight. For example, if you take 50g of flour, then take 50g of water with 50g of starter.
- With the remaining starter, thoroughly combine the flour and water. Keep doing it until you have a thick consistency.
- Take a clean jar, transfer your mixer there, and then cover it with a lid. If you don’t have a lid, don’t worry; a cloth will do the same work for you.
- Leave at room temperature to ferment properly.
- If your starter becomes doubled in size and shows bubbles, then throw away half of it and repeat the feeding process again.
Talking about the step-by-step guide, here is an effective article on How to Make Bread Soft and Fluffy: A Step-by-Step Guide. Check and master the art of fluffiness.
2. Sourdough Starter Feeding Frequency for Perfect Rising:
You have to feed your starter regularly. Confusing? Okay, just feed once a day at room temperature. Got it? I knew you could. And what if you have stored it in your fridge? It’s easy also. You have to feed it once a week. Easy-pesay!
As my grandmother said, consistency is the key to making everything perfect. And by following her lesson, I tried to feed my starter at the same time each day.
Guess what happened? I got the best result. Before that, I took maintaining consistency for granted and struggled to reach my desired progress.
Here is a general guideline to help you understand the starting points at different temperatures:
| Temperature Range (°F) | Feeding Frequency |
| Above 75°F | Twice daily (morning & evening) |
| 70°F – 75°F | Once daily |
| 65°F – 70°F | Every other day |
Note: It can take 5 to 7 days to be ready to bake your starter with consistent feeding.
Cautions!
‘If’ Signs Of an Underfed Starter:
While you are investigating and if you observe the following signs in your starter, then consider there is something wrong with it.
- If your starter rises slowly or doesn’t rise at all.
- If your starter becomes watery or thin.
- If your starter hasn’t any bubbles or is not showing any fermentation activity.
- If your starter spreads an intense sour or unpleasant odor.
Reason 2: Incorrect Temperature
The most common reason behind your sourdough starter not raising issues is incorrect temperature. Because it’s directly connected to the fermentation process. You have to maintain a balanced temperature where things won’t get too hot or too much cold.
Solutions
1. Maintain the Perfect Temperature For Sourdough Fermentation:
- The perfect temperature for your dough is between 70°F and 80°F (21°C and 27°C).
- If you don’t ferment your sourdough in this range, I’m ensuring you that the yeast and bacteria won’t work properly in your starter and will fail to give a good rise.
2. Tips for Maintaining the Right Temperature:
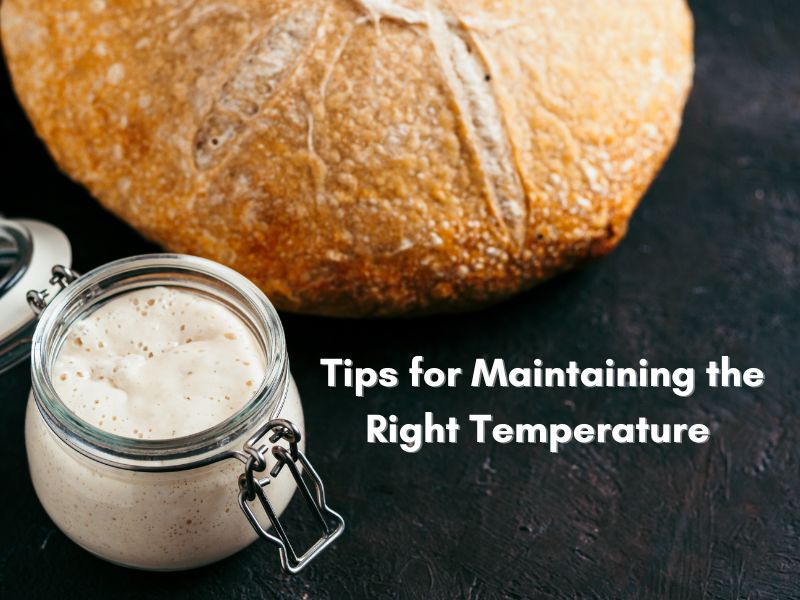
Fig 4 – Tips for Maintaining the Right Temperature
- First, you have to know Where To Put Dough To Rise. It’s simple. Use a proofing box, or you can just place it near a warm appliance. And don’t forget to keep your starter away from drafts, windows, or air conditioners.
- It is important to use lukewarm water while you are feeding. And it is a must when you are in a colder environment. It will give your starter an extra boost, like coffee gives you in the morning.
- Adjust your feeding schedule, as I have mentioned in the previous feeding frequency table.
Cautions!
What Happens If the Temperature Is Too Cold Or Hot for Sourdough Starter?
So, if the temperature is too cold, below about 65°F/18°C, it will slow the fermentation process. You will have a sluggishness, or sometimes there is a chance to have no rise in your sourdough starter.
Like too much cold, high temperatures above 85°F/29°C can also be a pain in your nose. It generally kills delicate microbes, and as a result, it can stop your starter from growing.
Reason 3: Not Using Filtered Water
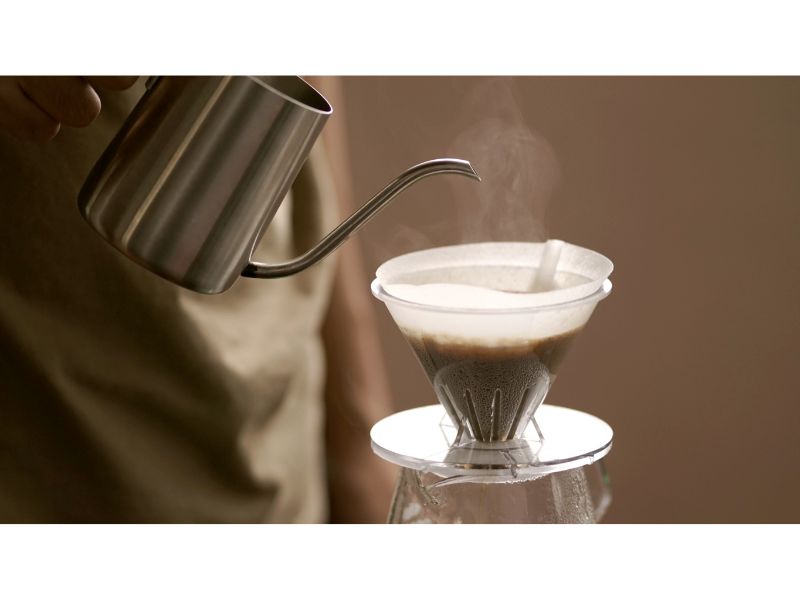
Fig 5 – Using Filtered water
You may think how water quality makes a difference. I’m telling you, it can. How? To understand that, let’s learn about its importance.
Importance of Using Filtered Water:
- Chlorine: Sometimes, we use tap water in our daily life. But when you use this water, it can create a mess with yeast and bacteria in your starter as it contains chlorine. It can make the growing process slow and create a bad flavor and even starter failure.
- Chloramine: This is the cousin of chlorine and yet another disinfectant that is used in water supplies. Though it doesn’t spread like the chlorine does. But it has the ability to have a bad impact on your starter.
- Other pollutants: It’s not just about chlorine and chlorine. There are other contaminants, such as heavy metals, minerals, and chemicals, that can also affect the performance of the microbial ecosystem in your starter.
Solutions
1. Tips for Water Selection:
- Always go for filtered water. It will create a healthy environment for the starter. And as I have mentioned before, using basic water contains chlorine or chloramine, which can be a red flag for your starter.
- If spring water is available in your area, opt for it. It’s natural, chlorine-free water, and the ingredients it contains basically give a boost to your sourdough starter.
- What if you don’t have a filter at home? Don’t worry just boiling up your tap water for 10-15 minutes is enough to evaporate the chlorine from your water.
2. Additional Tips:
- Don’t use distilled water as it’s low in essential minerals for your sourdough starter rising.
- Gradually add water and adjust the consistency as needed.
Cautions!
Effects of Non-filtered Water on Starter Activity:
- Chlorinated water can weaken the yeast and the bacteria. As a result, they will not work properly, and you will get a sluggish rise.
- As we need fresh air to live properly in the same way yeast needs a healthy environment to produce the necessary gasses for fermentation. If you use non-filtered water that means you are creating a polluted environment for your yeast, which can slow down the fermentation process.
FAQs
Q1. How do you strengthen a weak sourdough starter?
A: You can strengthen a weak sourdough starter just by feeding it more, using the wheat flour, and keeping it in a warm place around 75F.
Q2. Why is my sourdough starter flat?
A: It’s because you haven’t fed it properly or kept it at a low temperature. Overfeeding can be another reason behind your flat sourdough starter.
Q3: Can I use my starter if it doesn’t float?
A: Yes, you can! It’s okay to use a starter that doesn’t float. Floating is the sign of a ready starter. But the fact is you can ensure it through other sources, such as looking at it getting bigger or having bubbles.
Conclusion
As we have covered the common reasons along with their solution for your sourdough starter not rising dear, now you have the power to change the game.
You can easily make a good starter that will end up with a good rise as you have learned what temperature is correct, the feeding frequency, and what kind of water you have to use.
So, Why are you still here? Just start preparing your sourdough starter as I instructed you and see the difference. The surprising result is waiting for you.
More Resources
High Hydration Sourdough Bread: Bake Perfect Bread With Our 10 Best Tips
Main Function Of Sugar In Bread Making| Unleash The Sweet Science Behind Perfect Bread
Bread Dough Vs Pizza Dough| Know Better this Decoding to Experiment